What is Cherry Jelly Recipe?
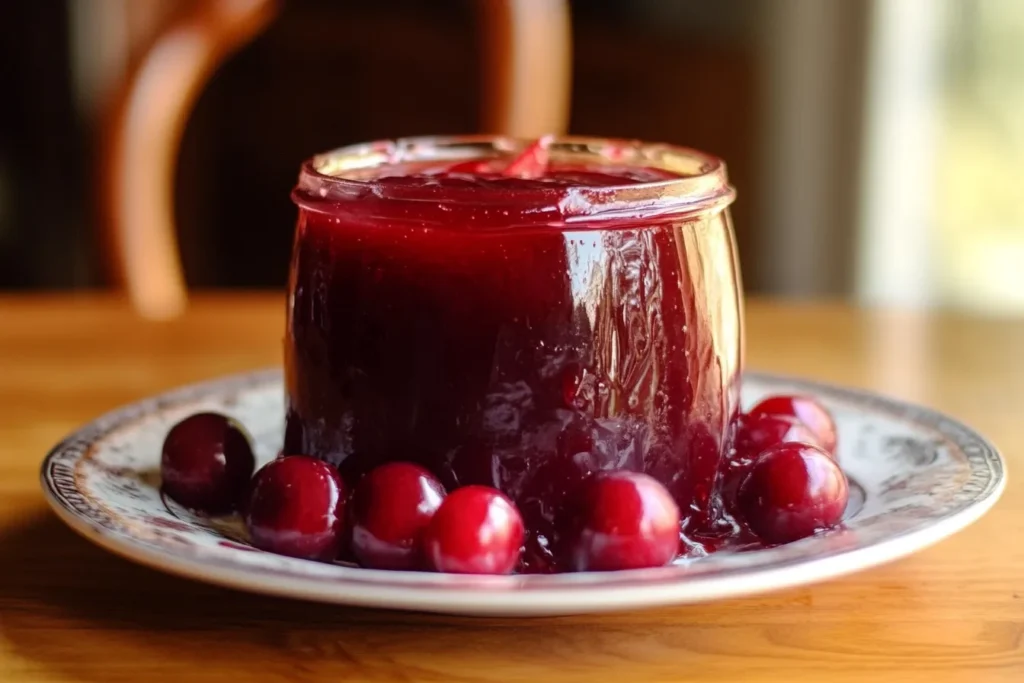
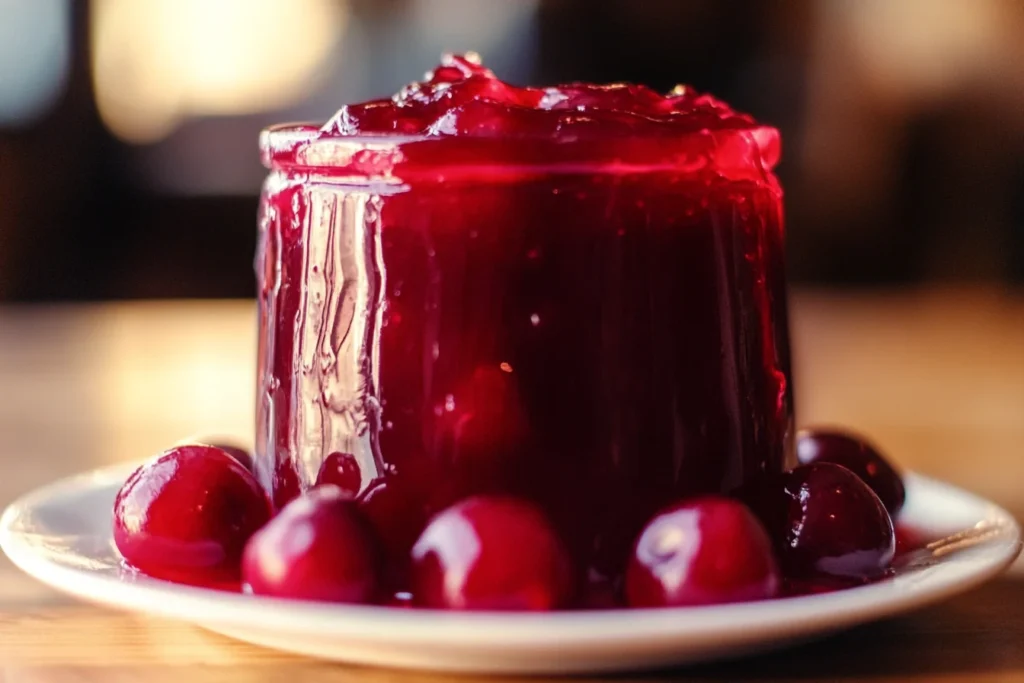
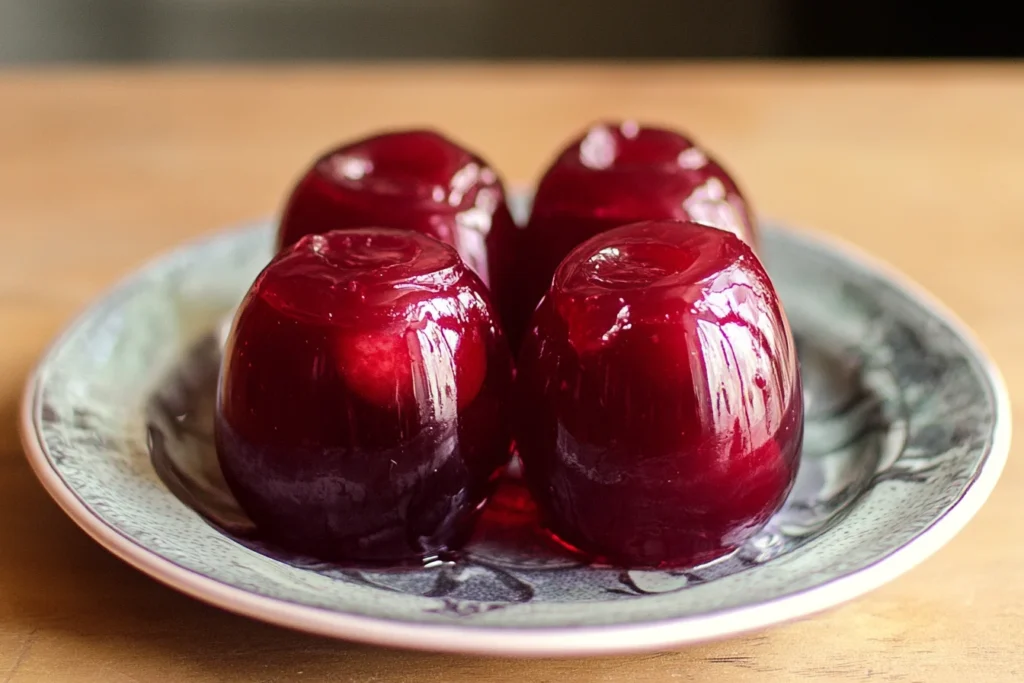
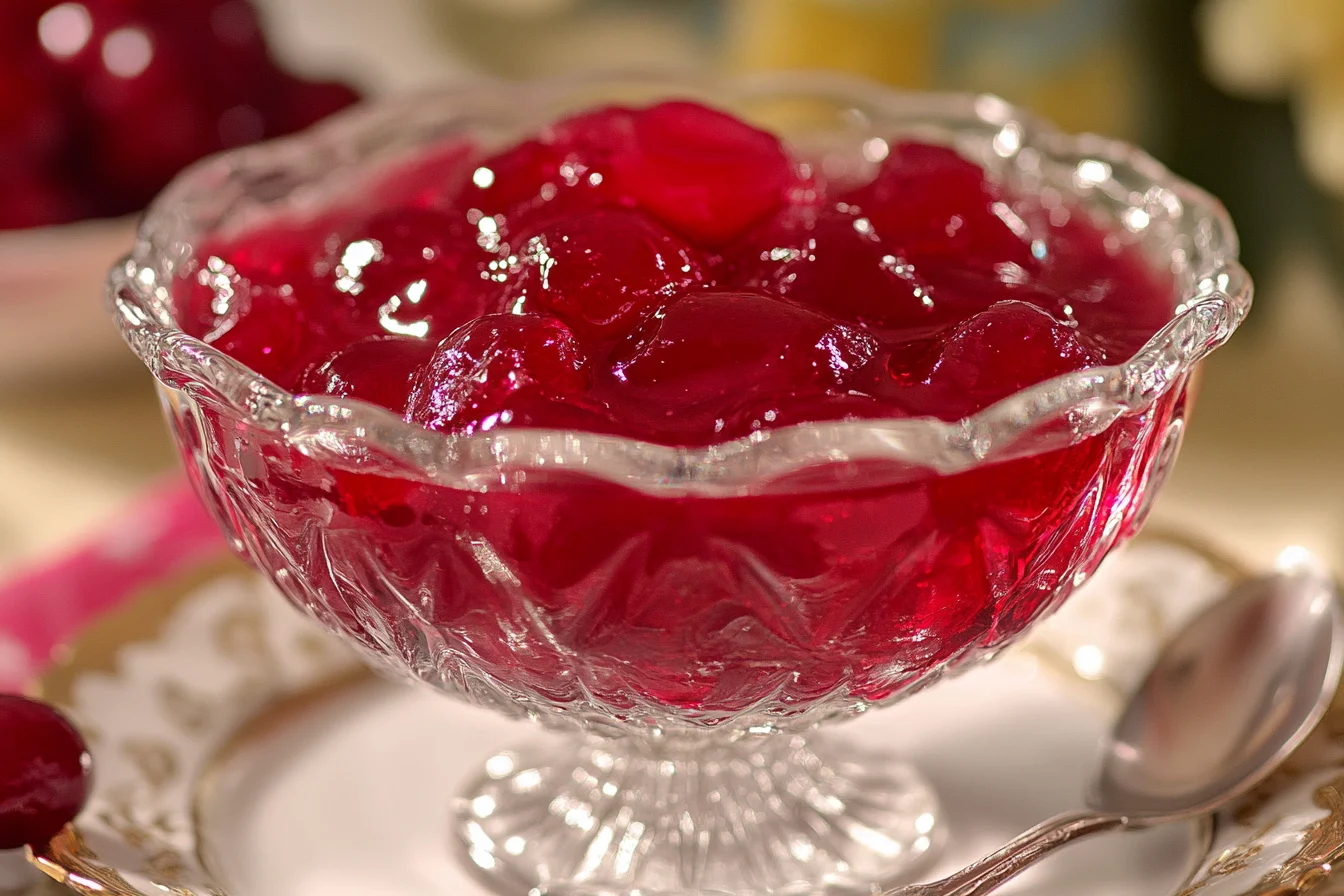
Cherry Jelly Recipe is a delightful fruit preserve made by boiling fresh cherries with sugar and pectin to create a smooth, translucent spread. It captures the essence of cherries, offering a balance of sweet and tart flavors perfect for toast, desserts, or even as a glaze for savory dishes.
A Brief History of Cherry Preserves
Cherry preserves have a rich history, tracing back to ancient times when fruits were conserved for off-season use. The art of making jellies gained prominence in Europe during the Middle Ages, as sugar became more accessible. Over time, cherry jelly has become a cherished homemade delicacy, symbolizing the age-old tradition of preserving summer’s bounty.
Importance of Homemade Jellies
- Homemade jellies are free from artificial additives and preservatives.
- They allow for customization of flavor, sweetness, and texture.
- Making your jelly fosters sustainability by reducing food waste and supporting local produce.

Choosing the Right Ingredients for Cherry Jelly Recipe
Selecting the Best Cherries for Jelly
Not all cherries are created equal. For the best results:
- Use sour cherries like Montmorency for a tart flavor.
- Opt for sweet cherries (e.g., Bing) for a mellow sweetness.
- Ensure cherries are ripe, firm, and blemish-free.
Pro tip: Mixing sweet and sour cherries can give a balanced flavor profile.
Types of Sugar and Alternatives
Sugar is not only a sweetener but also a crucial ingredient for preservation and texture. Consider:
- Granulated white sugar: Ideal for traditional recipes.
- Brown sugar or honey: Adds depth to the flavor.
- Low-calorie sweeteners: Perfect for reduced-sugar versions.
Fun fact: Honey pairs well with cherries, creating a unique floral undertone.
Necessary Pectin Options
Pectin is essential for setting the jelly. You can choose:
- Liquid or powdered pectin: Common and reliable.
- Natural pectin sources: Apples or citrus peels can be boiled with the cherries.
- Low-pectin recipes: Use tart cherries, which naturally contain more pectin.

Essential Tools for Cherry Jelly Recipe Making
Must-Have Kitchen Tools
- Large saucepan: For boiling the mixture evenly.
- Fine-mesh strainer or cheesecloth: To extract clear juice.
- Wooden spoon: Prevents sticking and scratching.
Proper Canning Equipment
Canning ensures long-term storage. Gather:
- Mason jars with lids: Sterilized for food safety.
- Jar lifter: Prevent burns when handling hot jars.
- Canning rack: Keeps jars stable in boiling water.
The Role of a Candy Thermometer
A candy thermometer is crucial for precision. The jelly stage is achieved between 220°F (104°C) and 222°F (106°C). Consistency matters, and this tool ensures accuracy.
Preparation Before Starting Cherry Jelly Recipe
Cleaning and Prepping Cherries
- Wash cherries under cold water.
- Remove stems and pits using a cherry pitter.
- Discard damaged or overly soft fruit.
Pro tip: Pitted cherries freeze well, so save extras for later.
Sterilizing Jars and Lids
- Wash jars and lids with hot, soapy water.
- Boil them in water for 10 minutes.
- Keep them warm until ready to use.
Setting Up a Safe Workstation
- Ensure countertops are clean and sanitized.
- Lay out all tools and ingredients to streamline the process.
- Use heat-resistant gloves or mitts for handling hot items.
Classic Cherry Jelly Recipe Overview
Ingredients List
- 4 cups fresh cherries (pitted)
- 3 cups granulated sugar
- 1 packet (1.75 oz) powdered pectin
- 2 tablespoons lemon juice
Time Required for Preparation and Cooking
- Preparation: 30 minutes
- Cooking: 25–30 minutes
- Total Time: About 1 hour
Serving Suggestions
- Spread on warm buttered toast.
- Layer in cakes or tarts.
- Pair with cheeses like Brie or goat cheese for a gourmet touch.
Mastering the Art of Cherry Jelly Recipe
Step-by-Step Guide to Making Cherry Jelly Recipe
1. Extracting Cherry Juice
The key to clear and vibrant cherry jelly is a thorough juice extraction process:
- Combine pitted cherries and 1 cup of water in a large saucepan.
- Bring to a simmer, mashing the cherries gently to release the juice.
- Cook for 10–15 minutes, stirring occasionally.
- Pour the mixture into a cheesecloth-lined strainer or a fine-mesh sieve over a bowl.
- Let the juice drain naturally for a few hours or overnight in the refrigerator.
Pro tip: Avoid pressing the fruit; this can make the jelly cloudy.
2. Mixing Ingredients
Once you have the cherry juice ready:
- Measure 4 cups of cherry juice and pour it into a large saucepan.
- Add 3 cups of sugar and 2 tablespoons of lemon juice for brightness.
- Stir the mixture over medium heat until the sugar dissolves completely.
3. Boiling and Achieving the Right Consistency
- Add the pectin to the saucepan, stirring constantly.
- Increase the heat and bring the mixture to a full rolling boil that cannot be stirred down.
- Boil for 1–2 minutes or until the mixture reaches 220°F (104°C), the ideal jelly stage.
Pro tip: Use a wide pan for quicker evaporation, which helps achieve the right consistency.
4. Testing for the Jelly Stage
To ensure your jelly will set:
- Use the cold plate test: Place a small spoonful of the jelly on a chilled plate. Push it gently with your finger—if it wrinkles, it’s ready.
- Alternatively, rely on the thermometer to confirm it has reached the right temperature.
Tips for Perfect Cherry Jelly Recipe
Avoiding Common Mistakes
- Don’t undercook or overcook the mixture; this affects the texture.
- Avoid using overly ripe cherries, as they lack sufficient natural pectin.
- Skim foam off the surface for a smooth finish.
Adjusting Sugar Levels for Taste
- For a less sweet jelly, reduce the sugar by up to 20% and increase the lemon juice for balance.
- Use low-sugar pectin for better control.
Preserving the Vibrant Cherry Flavor
- Cook over moderate heat to prevent caramelizing the sugar.
- Add a splash of almond extract for a flavor boost without overpowering the cherries.
Canning and Storing Cherry Jelly
The Basics of Water Bath Canning
- Fill sterilized jars with the hot jelly, leaving a ¼-inch headspace.
- Wipe jar rims clean to ensure a good seal.
- Apply the lids and screw bands until fingertip-tight.
- Submerge the jars in a boiling water bath for 10 minutes.
Ensuring a Tight Seal
- Listen for the “pop” as jars cool, indicating a successful seal.
- Press the lid; it should not spring back if properly sealed.
Storage Recommendations
- Store sealed jars in a cool, dark place for up to 1 year.
- Refrigerate opened jars and use within 3 weeks.
Variations of Cherry Jelly Recipe
1. Cherry-Almond Jelly
- Add 1 teaspoon of almond extract before canning for a nutty aroma.
2. Spiced Cherry Jelly
- Infuse with cinnamon sticks, cloves, or star anise during the boiling stage. Remove spices before canning.
3. Low-Sugar and Sugar-Free Versions
- Use sugar substitutes like stevia or erythritol with low-sugar pectin for a healthier alternative.
Serving Ideas and Uses
Breakfast Pairings
- Spread cherry jelly on warm croissants or pancakes for a fruity start to your day.
Desserts Enhanced with Cherry Jelly
- Drizzle over cheesecakes or ice cream for a tangy-sweet twist.
- Use it as a filling for cookies or pastries.
Unique Cooking and Baking Applications
- Glaze roasted meats like ham or duck with cherry jelly.
- Incorporate it into sauces for savory-sweet dishes.
Health Benefits of Cherries
Nutritional Profile of Cherries
- High in vitamin C and potassium.
- Rich in antioxidants like anthocyanins, which give cherries their deep red color.
Antioxidants and Their Benefits
- Promote heart health.
- Support immune function.
- Reduce inflammation and improve recovery after physical activity.
Comparing Store-Bought vs. Homemade Jellies
- Store-bought jellies often contain preservatives and artificial flavors.
- Homemade versions retain more natural nutrients and are free of additives.
Enhancing Your Cherry Jelly Recipe Experience
Creative Cherry Jelly Packaging
DIY Jar Labeling and Designs
Elevate your homemade cherry jelly presentation with unique labeling ideas:
- Handwritten Labels: Add a personal touch with elegant cursive on kraft paper tags.
- Chalkboard-Style Labels: Use matte stickers and white markers for a rustic feel.
- Decorative Lids: Cover jar lids with fabric squares in cherry-themed prints, secured with twine or ribbon.
Pro tip: Add details like the date of preparation, ingredients, and serving suggestions for a polished finish.
Gifting Ideas for Homemade Cherry Jelly Recipe
Homemade jelly makes for thoughtful and versatile gifts:
- Gift Baskets: Pair the jelly with freshly baked bread, crackers, or a small cheese wheel.
- Seasonal Themes: Wrap jars with holiday ribbons or include them in themed gift sets (e.g., breakfast baskets or dessert kits).
- Personal Notes: Attach a card with your favorite cherry jelly recipe or a story behind the batch.
Eco-Friendly Packaging Tips
- Reusable Jars: Opt for glass jars with metal lids that can be repurposed.
- Compostable Wrapping: Replace plastic with biodegradable materials like kraft paper or jute.
- Minimalist Designs: Use simple, recyclable tags and twine to reduce waste.
Troubleshooting Common Issues
Why Jelly Didn’t Set
- Possible Causes:
- Insufficient pectin or sugar.
- Not boiling to the proper temperature (220°F/104°C).
- Using overripe cherries with low natural pectin.
Solution: Reheat the jelly, add more pectin or lemon juice, and reprocess.
Fixing Cloudy or Grainy Textures
- Cloudiness is often caused by pressing the cherries during juicing.
- Graininess can result from undissolved sugar or overcooking.
Solution: Strain the juice thoroughly and ensure the sugar is fully dissolved before boiling.
How to Salvage Overcooked Jelly
Overcooked jelly becomes too thick or hard to spread. To fix:
- Gently reheat the jelly with a few tablespoons of water or juice.
- Stir continuously until the consistency improves.
Scaling the Cherry Jelly Recipe
Making Large Batches for Events
When preparing for a crowd:
- Multiply ingredients proportionally, but avoid overfilling pots to maintain even heating.
- Cook in smaller batches if necessary to ensure consistent results.
Adjusting for Small Quantities
For smaller batches:
- Halve or quarter the ingredients while keeping the pectin-to-juice ratio consistent.
- Use small jars for easier portioning and gifting.
Sourcing and Storing Cherries
Seasonal Cherry Selection
- Peak Season: Late spring to mid-summer offers the freshest cherries.
- Visit farmers’ markets or local orchards for the best quality.
Freezing Fresh Cherries for Year-Round Use
- Wash, pit, and spread cherries on a baking sheet to freeze individually.
- Transfer frozen cherries to airtight containers for storage.
Pro tip: Frozen cherries work perfectly for jelly without thawing.
Tips for Buying Cherries in Bulk
- Purchase in-season cherries in large quantities to save money.
- Check for co-op buying options or local farms offering discounts.
Sustainable Practices in Jelly Making
Reducing Waste in the Kitchen
- Use leftover cherry pits and skins to make infused syrups or compost them.
- Repurpose jelly-making water for cleaning sticky surfaces.
Using Leftover Cherry Pulp
- Mix pulp into smoothies or yogurt.
- Bake it into muffins, bread, or cakes for added flavor and fiber.
Supporting Local Cherry Farmers
- Buy directly from farmers to boost the local economy.
- Explore pick-your-own cherry farms for a fun and fresh experience.
FAQs About CCherry Jelly Recipe
1. How Long Does Homemade Cherry Jelly Recipe Last?
Properly canned and sealed cherry jelly lasts up to 12 months. Opened jars should be refrigerated and used within 3 weeks.
2. Can You Make Jelly Without Pectin?
Yes! Tart cherries naturally contain pectin. Boiling the juice with sugar and lemon juice can achieve a good set.
3. What Are the Best Cherries for a Tart Jelly Flavor?
Sour cherries, like Montmorency, are ideal for a tart and vibrant jelly.
4. Can I Reduce the Sugar in Cherry Jelly Recipe?
Yes, but use low-sugar pectin to ensure the jelly sets properly.
5. Why Did My Jelly Turn Out Runny?
This happens if it wasn’t boiled to the correct temperature or lacked sufficient pectin. Reboil and add more pectin if needed.
6. Is Cherry Jelly Recipe Gluten-Free?
Yes, most cherry jelly recipes are naturally gluten-free.
7. How Can I Check if My Jelly Sealed Properly?
Press the lid. If it doesn’t pop back, the seal is tight.
8. What Can I Use as a Sugar Substitute?
Stevia, erythritol, or honey can replace sugar for a healthier option.
9. Can I Double the Cherry Jelly Recipe?
Yes, but cook in separate batches to ensure consistent boiling and setting.
10. How Do I Remove Stains from Cherry Juice?
Use a mixture of vinegar and baking soda to lift stains from hands, clothing, or countertops.

Classic Cherry Jelly
Equipment
- Large Saucepan
- Fine-Mesh Strainer or Cheesecloth
- Wooden Spoon
- Mason Jars with Lids
- Candy Thermometer
Ingredients
Main Ingredients
- 4 cups fresh cherries pitted
- 3 cups granulated sugar
- 1.75 oz powdered pectin 1 packet
- 2 tablespoons lemon juice freshly squeezed
Instructions
- Combine pitted cherries and 1 cup of water in a large saucepan. Bring to a simmer, mashing the cherries gently to release the juice. Cook for 10–15 minutes, stirring occasionally.
- Pour the mixture into a cheesecloth-lined strainer or a fine-mesh sieve over a bowl. Let the juice drain naturally for a few hours or overnight in the refrigerator. Avoid pressing the fruit to keep the jelly clear.
- Measure the extracted cherry juice. You should have about 4 cups. If necessary, add water to reach the desired volume.
- In a large saucepan, combine the cherry juice and lemon juice. Gradually stir in the powdered pectin until dissolved. Bring the mixture to a rolling boil over high heat, stirring constantly.
- Add the granulated sugar all at once, stirring to dissolve. Return the mixture to a rolling boil. Boil hard for 1–2 minutes, stirring constantly. Use a candy thermometer to ensure the mixture reaches 220°F (104°C).
- Remove the saucepan from heat. Skim off any foam that has formed on the surface using a spoon.
- Ladle the hot jelly into sterilized mason jars, leaving about 1/4 inch of headspace. Wipe the rims clean, place the lids on top, and screw on the bands until fingertip-tight.
- Process the jars in a boiling water bath for 10 minutes to ensure proper sealing. Remove the jars and let them cool undisturbed for 12–24 hours. Check the seals before storing.
